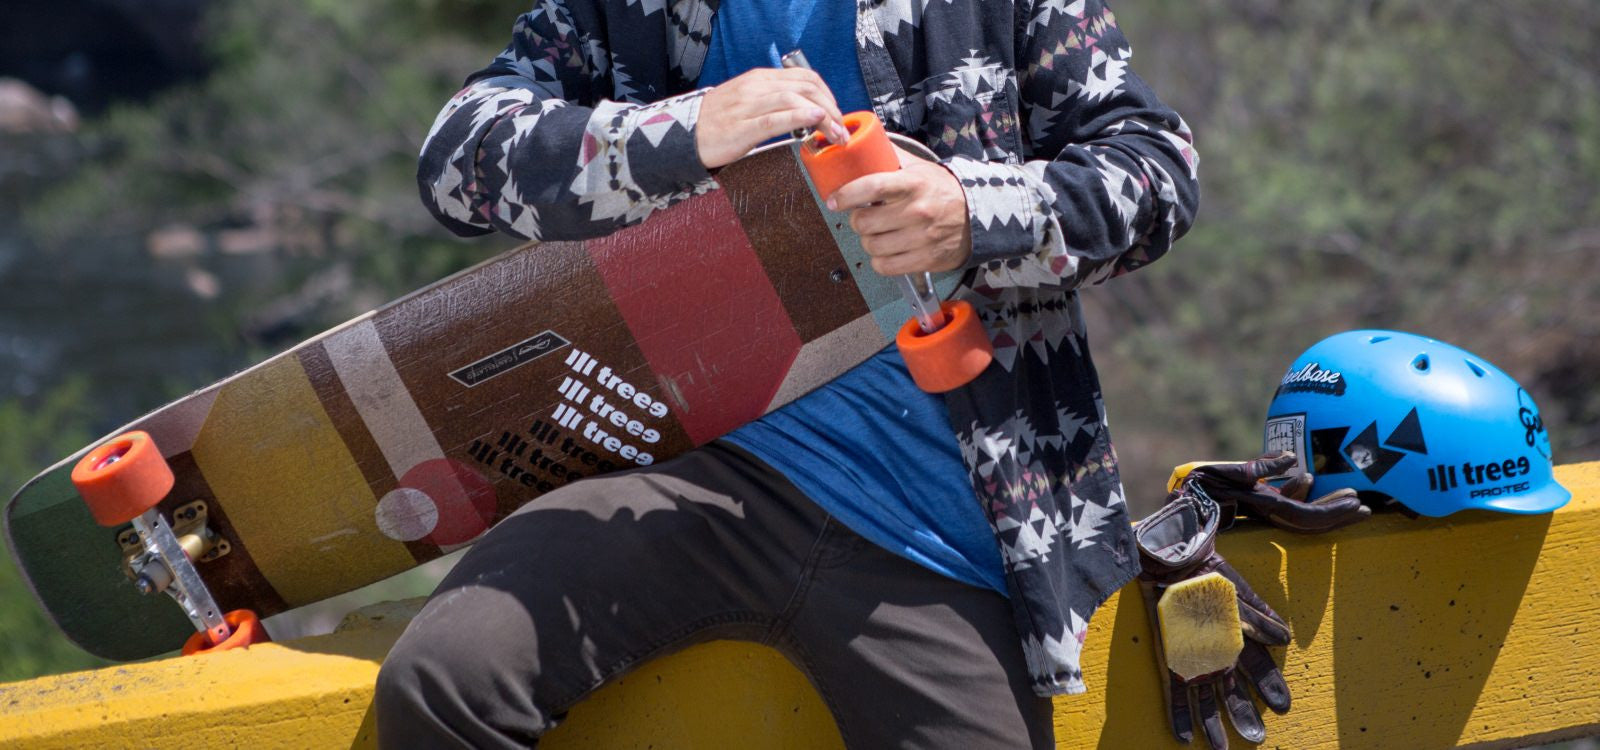
What's up guys, David here to show you how to remove and install your new bearings (with spacers).
Here are the bearings and spacers that we recommend:

To get started, unscrew the axle nut off and be careful not to push down on the bearing shields. Pushing down on these shields can bend them and cause the ball bearings inside to rub. This will destroy bearing performance.
Once the nut is off, there should be a small washer (aka speed ring) on the side of the bearing. Be careful not to lose these, you'll want to use them again. Speed rings keep the nut and truck hanger properly spaced out so that only the inner race of the bearing touches.
The best way to remove the bearings from the wheels is to use only the truck and no other tools. This will keep the bearings from getting damaged if done correctly.
To do this, slide the wheel down the axle only one bearing deep and pry it sideways. This will pry that single bearing out of the wheel. Then allow that bearing to slide down the truck axle for removal later. Also leave the spacer on the axle if you have one installed.

Flip the wheel over and do the same on the outside facing bearing. You can now pull all those bearings off the axle and either toss them or get them ready for cleaning.
If you are using street wheels or any wheel with a very hard durometer, this process is significantly harder. However, I have still found it to be the best way to remove bearings without damaging the wheel, truck, or bearings. You can try dripping a few drops of bearing lubricant between the bearing outer race (part touching the wheel) and the wheel to loosen it up so that the bearing can be removed.
Now that the bearings are removed, let's install the new ones.
If you are installing on new trucks, you will have to take off the axle nut on the new truck. Remove it and take one of the two speed rings off. Set that one speed ring aside and don't lose it! Leave one speed ring on the axle for easy install later.
The next piece to go on the axle is the bearing, but take careful not on how the bearing shields are. You want to place the bearing so that the shield is facing the dirty outside world. The seal is there to protect the bearing, so use it!
Next slide the bearing spacer on the axle. For the next bearing, place it the same way as the first bearing on the axle. This is because we are going to install the outside bearing into the wheel first. Placing the bearing like this will allow for an easy install.

To recap, from truck to nut you should have speed ring, bearing (shield towards middle of deck), spacer, bearing (shield towards middle of deck).

Press the wheel graphic face down on that top bearing. Then take the wheel off and flip it to press down on the other bearing. Put your speed ring and axle nut back on and tighten, being careful not to press down on bearing shields.

Some slight clicking noise might be heard. Do not worry, this is just the bearing seating into the wheel and is actually a good sound.
Once pretty tight, try spinning it. They should feel pretty free, but if you made it a bit tight, back off a 1/8th - 1/4th turn until the wheel is fairly free spinning.

By following this procedure, you can have the bearings and spacers all lined up very quickly and easily!
If you have any questions, throw a comment below or email us!

