


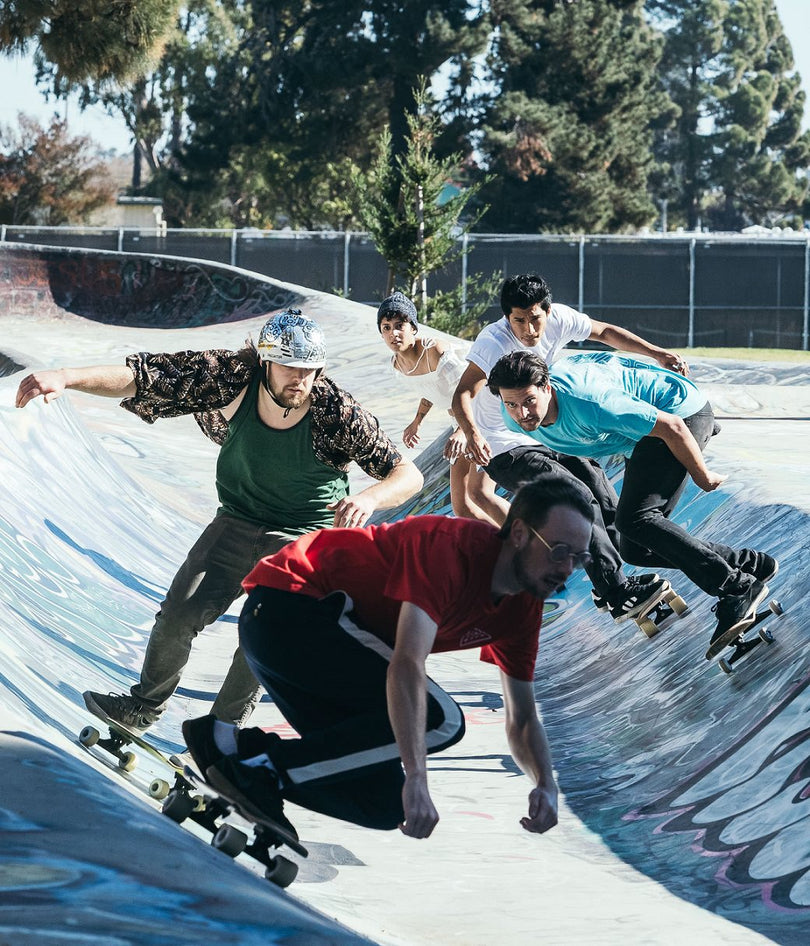

So you just got a skateboard, and man is it sweet. You're havin' a blast spinning wheels, but aren't you curious how this thing stops? Not only will learning some speed control methods allow you to shred more varied terrain, but it will let you do it more safely and give you control over the board and hill, rather than being at the mercy of gravity. Personally, I grew up in a super hilly town, it was about a week (and two pairs of shoes I footbraked through) before I realized I was going to have to learn how to slide. Once I actually tried it, I found out how much fun it could be. Sliding brings a huge new dynamic to skateboarding down hills. It's made the sport exponentially more interesting for me and it's probably my favorite thing to do on a skateboard. To learn these techniques, you will need a helmet, some slide gloves, and some shoes (or lots and lots of calluses).
1. Foot Brake
The foot brake is one of the easiest ways to stop, and with practice, it works at any speed. This technique is very easy to learn and is always a valuable skill to have, from cruising around town, to steep, downhill racing. It excels at killing off smaller amounts of speed, or coming to a stop from a low speed. This should be the first method you attempt if you are a beginner. To attempt the footbrake, balance over your front leg, and while keeping almost ALL of your weight over the leg on the board, GENTLY apply your rear foot to the pavement. Initially it is best for your foot to do almost nothing but skim lightly above the surface of the ground, and then gradually add pressure to stop. It is very important that you do not just stomp the ground with your rear foot, as it will grip the pavement and rip you off your board. When you get more comfortable with this maneuver you will be able to stop quicker, and within shorter distances than before. Obviously this method will destroy your shoe soles if you do it too much!

2. Coleman Slide
Coleman slides are a beginner friendly slide to start out with. They can be used for speed control, cornering, as well as coming to a complete stop. It is a good idea to learn one of the hands down slides in addition to footbraking, before much downhill skating is attempted. Hand down slides, or any slide for that matter, are better than footbraking because they can kill off much more speed more quickly, and they can be performed more easily through turns because your feet don't have to leave the board. On top of that, your shoes no longer will take any wear from abrading the pavement. That being said, hand down slides are harder to control the exact amount of speed shed, especially when trying to slow down only a tiny bit, when compared to footbraking. They also wear your wheels instead of your shoes, and will make your wheels less grippy (a good thing if you want to keep sliding, but some racers will choose footbraking over sliding for these reasons) and potentially affect roll characteristics.
To perform a Coleman slide, crouch on your board and carve into your toeside. Make sure your heels are at the heelside edge of your board, if you ride a narrow deck - if you ride a wide one, it is not a bad idea to hang your foot off a substantial amount - whatever works. Angle your back knee towards your front leg and position all your weight over your front leg/truck. When you throw into the slide, slap your front hand around and down to your heelside and rotate your shoulders through the direction of the slide. The slower your rotation, the more speed you will shed. Remember to look where you want to go.

Coleman slide
3. Toeside Hand(s) Down Slide
Toeside Hand down slides serve the same purpose as Coleman slides, but may be easier to learn first for some people, rather than Colemans. Hand down slides are a great transition between footbraking and stand up slides for progression.
To do a toe side hand down slide, first make sure your toes are on your toeside rail. Take a nice big heelside pre-carve into a toe side, and when you start to go toe side, put your back hand down (or both!) on the ground as you kick the board out with your back leg. The action of placing your rear hand down should turn your shoulders and initiate the slide. Remember all slides are greatly influenced by the movements in your shoulders and hips. Keep your eyes looking down the hill and it will pendy back around. Again, to kill off more speed in the slide, and consequently make it a longer slide, make your body rotation slower.

Toeside hand down
4. Heelside Standup Slide
Heelside standup slides are the easiest for most people to hold out big. This is probably the easiest stand up shutdown slide to learn. Once you figure out your hands down slides, it's time to move onto stand up slides (yes, you can learn stand up slides before hands down slides if you want to). Most people would agree that heel side standups are much easier/safer than toeside standups whereas for hands down slides there isn't really much more risk inherently with either direction slide.
To do a heelside stand up slide, you should start out by hanging your heels off your heelside edge. I have my front heel along the rail, and I hang the entire heel of my rear foot off. This will help you rotate even easier at lower speeds from increased leverage, and at higher speeds, let you kick out slides with little to no effort. Always pre-carve into your slides, whether they are hand down or stand up, it will help a lot. As you come out of your toeside precarve, get low and shift your weight and lean over your front leg as you stiff-leg your back leg out to hold the board sideways. It will help a lot if when you get low, you bend your knees a lot kind of like in a sitting position. As the slide initiates you can extend your legs a bit to push the board out more, but make sure you keep them always a little bit bent! Straight legged slides (the power-leg) are very prone to highsiding so keep them a little bit bent if you can.

Heelside standup
5. Toeside Standup Slide
Toeside standup slides are yet another way to kill off your speed once you get bored with doing heelsides all the time. They are inherently more dangerous than heelside standup slides because if you highside, your head is very likely to smack the ground. Also because it is a stand up slide, your head is generally going to hit the ground from about 5 feet up, vs the 2 or 3 feet max from a hand down slide. This is why it is especially important to wear a helmet that covers the base of your skull, as that is a common, and very sensitive part to hit. Traumatic brain injuries are no joke.
To do this slide, set up like always, with your toes/heels on the side you're going to slide, so in this case, toes on the toeside rail. Pre-carve to your heelside, the deeper the carve the better. As you start to transition to the toeside slide, get real low and slowly extend into the slide. You want to lean towards the hill, and keep your knees nice and bent so you have room to adjust for balance, in both directions. Try to lean a lot towards the hill, so if you mess up, it can just turn into a hand down toeside slide.
 <
<
Toeside standup
It is a good idea to learn how to stop in all of these directions as the road will not always be going the direction you want to slide in when that car is flying up the hill towards you. Remember to always wear your safety gear and buckle those helmets! Get STOKED!
Here's everything you might need to stay safe out there! Check out our slide gloves, helmets, and pads!
Stoke out your friends! {{widget type="cms/widget_block" template="cms/widget/static_block/default.phtml" block_id="16"}}
Footbrake for life!