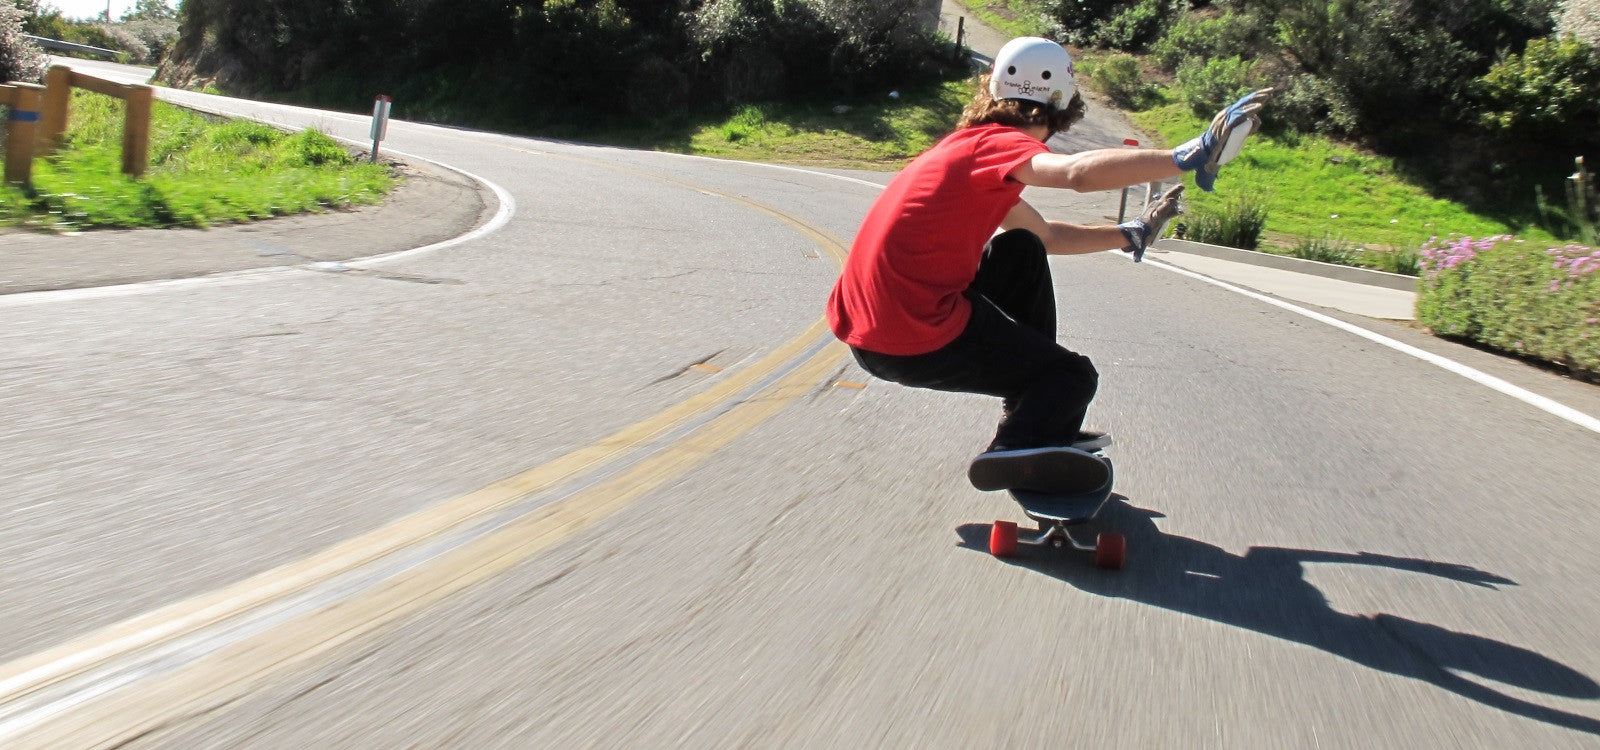


If you feel that your bearings spin unevenly, squeak, or are corroded, it may be time to clean them. Cleaning bearings takes about 20 minutes and can greatly prolong the life of the bearings if done often enough.
You will need…
- A cleaning kit
- Bones Reds Cleaning Kit
- Oust Speed Kleen Kit
- You can also make your own
- Bearing Cleaner
- Citrus based cleaner
- Bearing Lubricant
- Towel
- Microfiber shop towel
- That one towel that you stole from the hotel
- Razor Blade or Pin
Step 1) Surgery
First, we need to open the bearings up. Wipe off the dirt that’s on the outside of your bearings with the towel. If you have a rubber bearing shield, take a razor and wedge it between the shield and the inner race ring. Pry up to pop off the shield. Be careful not to damage your bearing shield.
If you have a metal bearing shield, take a pin and pry out the C ring that is between the bearing shield and the outer race ring. Tap the bearing face down on the table to get the shield off.
Some metal bearing shields are not removable. If you can, remove one shield. If no shields are removable, then it is probably best to just get new bearings.
After the shields are off, on one side you should see a plastic looking thing over the steel balls. This is called the nylon retainer. Use your pin or razor to pry it out of the bearing. You don’t want the retainer in there with the cleaning solution. Set all of this aside for reassembly.
If you open the bearing shields and inside there is a metal cage, you cannot remove it. Just clean the bearings with this on.
Step 2) Some Assembly Required
Skateboard bearing cleaning kits all have the same basic design of a bottle with an axle(s) inside the cap to attach your bearings. Remove the wingnut or end cap from the bottom of the axle and take off the spacers.
If the cleaning kit did not include spacers, you can use the spacers from your normal setup. However, if you use normal sized spacers instead of the included spacers, you may not be able to clean all of your bearings at once because normal spacers are larger.
Put your bearings and spacers on the axle, alternating between bearing and spacer. Secure the bearings and spacers on the axle with the wingnut or end cap.
Step 3) Shake It Off
Fill the container about 1/4th of the way with bearing cleaner. Insert the bearings into the bottle and secure the lid. Shake the container vigorously like a shake weight. This is a very important part of the technique. The cleaning solution should get dirty and nasty.
Step 4) Towel Dry
Open the lid over a towel and take off the lid. Carefully remove the bearings and set the container of cleaner to the side. Take the wingnut or end cap off the axle put the clean bearings onto the towel. Dry each bearing, spacer, and the axle with the towel.
If there is a lot of residue on the bearings, they can be washed with water. This sounds counter-intuitive, but as long as the bearing does not sit with water in it for an extended period of time, it will not rust. Make sure to dry the bearings super well with a hair dryer or heat gun and apply lubricant immediately.
Step 5) Reassembly
Put the nylon retainer back into the bearing by spacing out the balls and popping it in. Put one shield back onto the bearing as well. Rubber shields pop back on with a slight press. Be very careful not to bend the shields.
To re-attach a metal shield, place the shield onto the bearing and push the c-ring back into place.
Place the bearing with the open side up and drip bearing lube inside. About 2-5 drops of bearing lube should be enough. Too much lube can actually slow the bearing. Re-attach the other bearing shield and reinstall on the skateboard.
And there you have it! How to fully clean your skateboard bearings in 5 easy steps. If you have any questions, throw a comment below.